Scenario Step Types
Understand the different types of steps you can include in your test scenarios.
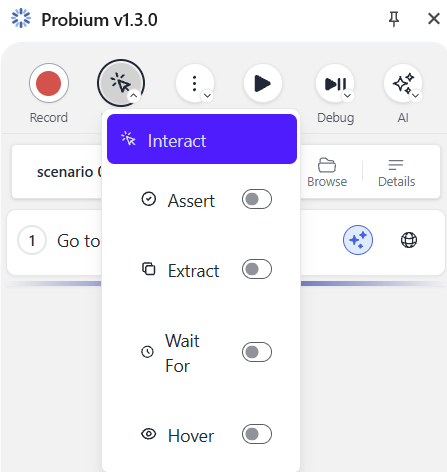
Interaction (Interact Mode)
This is the default mode for recording standard user interactions with the website.
Supported Actions
- Clicking on buttons, links, and other clickable elements
- Filling out forms and input fields
- Scrolling through pages
- Navigating between pages
- Any other standard user interaction
How to use: Ensure that Interact mode is selected using the Change mode button, then perform your desired actions on the website.
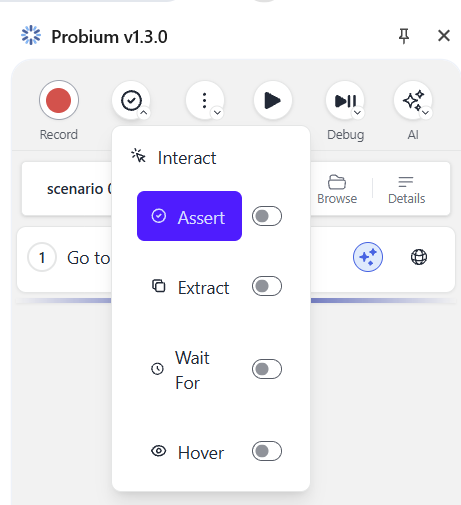
Assertions (Assert Mode)
Assert steps verify that specific page elements contain expected text content. These are crucial for validating that your website displays the correct information.
How to Record an Assertion
- During recording, switch to Assert mode
- Click on the element whose text content you want to verify
- The current text content will be captured and saved
During Replay
When the scenario is replayed, Probium will check if the element's text matches the expected value. If the texts don't match, the step will be marked as failed.
Important: Assertions help ensure your website displays correct information to users. Use them to validate critical content like success messages, user names, prices, and status indicators.
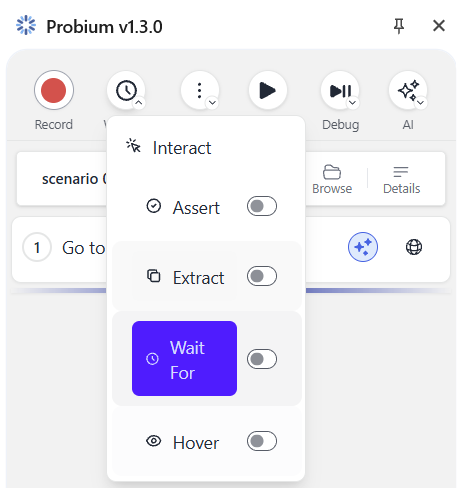
Waiting Mechanisms (Wait for Mode)
This step type waits for a specific element with specific text content to appear on the page before proceeding.
When to Use
Use Wait For steps when:
- Content loads dynamically via AJAX
- Waiting for animations to complete
- Ensuring a success message appears
- Waiting for data to be processed
How to Record
- Switch to Wait for mode
- Wait for the desired element to appear on the page
- Click on the element
- The step will be recorded with the element's selector and text content
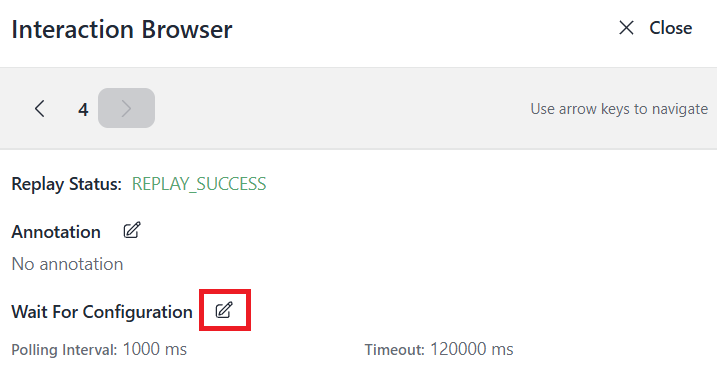
How to Change Timeout in a "Wait for" Step
- Within your recorded scenario, find the specific Wait for step you wish to modify.
- Click on the clock icon located on that step.

- This will open the Interaction Browser page, where you can see the current values for both the timeout and the polling interval.
- Click on the edit icon (pencil) to adjust these values according to your testing needs.
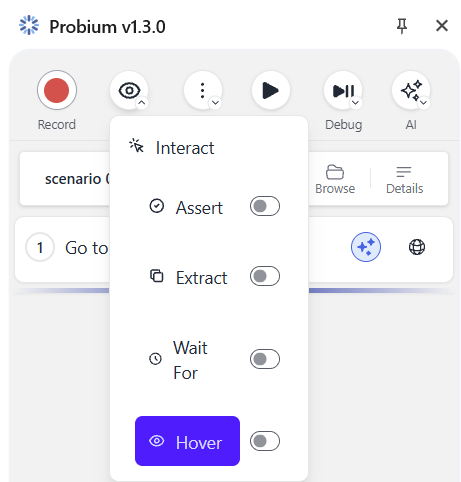
Hover Actions (Hover Mode)
Hover steps simulate moving the mouse cursor over a specific page element without clicking it.
Use Cases
- Triggering dropdown menus
- Revealing tooltips
- Activating hover-based animations
- Testing hover states in UI components
How to Record
- Switch to Hover mode
- Wait for the target element to appear
- Click on the element you want to hover over
- During replay, the cursor will hover over this element
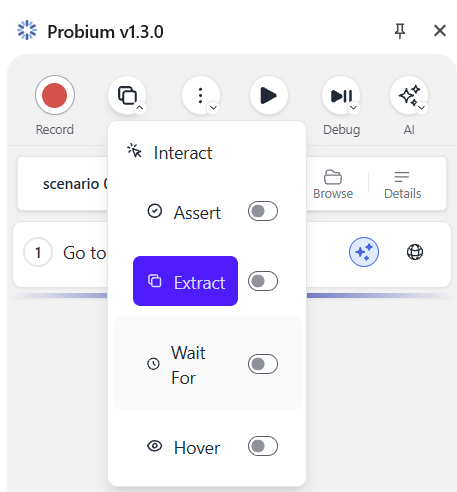
Data Extraction (Extract Mode)
Extract steps capture text content from page elements so you can use this data in subsequent steps of your scenario.
Common Use Cases
- Extracting order IDs or confirmation numbers
- Capturing user-generated content
- Reading dynamic values to use in forms
- Storing reference data for later assertions
How to Record
- Switch to Extract mode
- Click on the element containing the text you want to extract
- The extracted value is saved as a parameter
- You can reference this parameter in later steps
Tip: Extracted values appear in the Parameters table where you can view and manage them alongside other scenario parameters.
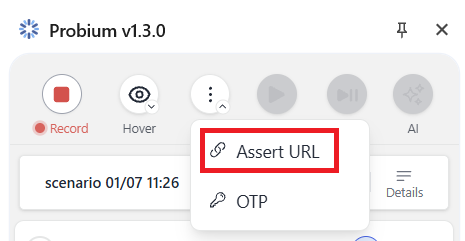
Assertions for Current URL
This step verifies that the URL of the current wepbage matches the given value.
How to Record
- Click the Actions button in the toolbar
- Select Assert URL from the dropdown menu
Email OTP Integration
This step type automates the process of receiving and entering one-time passwords sent via email during authentication flows.
How to Record an Email OTP Step
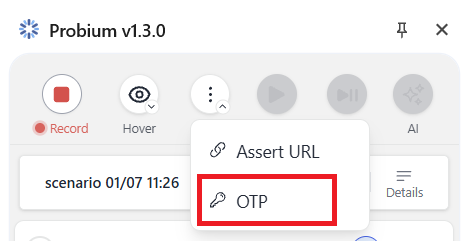
- Click the Actions button in the toolbar
- Select OTP from the dropdown menu
- In the OTP Wizard, choose Email OTP
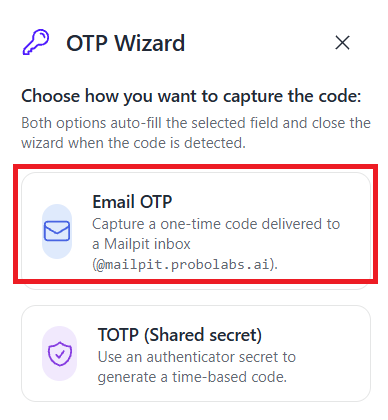
- Enter the email address where the OTP will be sent
Important: Probium currently works only with email addresses on the
@mailpit.probolabs.aidomain!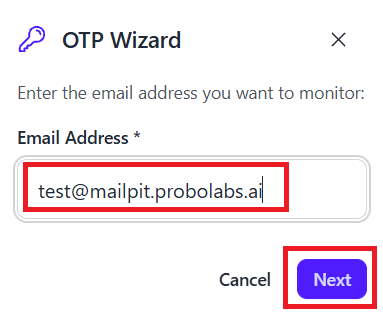
- Click Next
- Close the OTP Wizard
- Click on the input field where the OTP should be entered
During Replay
Probium will automatically:
- Wait for the email to arrive
- Extract the OTP code from the email
- Enter the code into the specified field
TOTP and Authenticator App Support
This step type handles authentication using time-based one-time passwords, similar to authenticator apps like Google Authenticator or Authy.
How to Record a TOTP Step
- Click the Actions button
- Select OTP from the dropdown
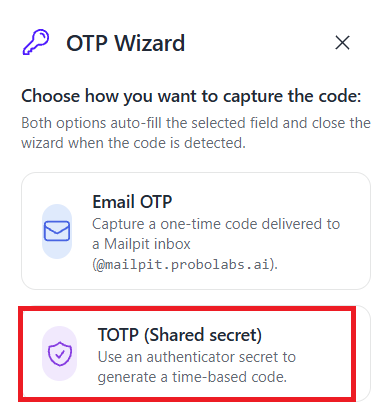
- In the OTP Wizard, choose TOTP (Shared secret)
- Enter the following information:
- Secret key (the shared secret from your authenticator setup)
- Code length (typically 6 digits)
- Generation algorithm (usually SHA-1)
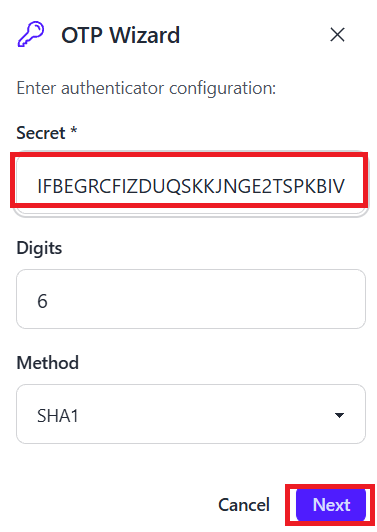
- Click Next
- Close the OTP Wizard
- Click on the input field where the TOTP code should be entered
During replay, Probium will generate the current TOTP code based on the shared secret and enter it into the specified field automatically.
Ask AI Functionality
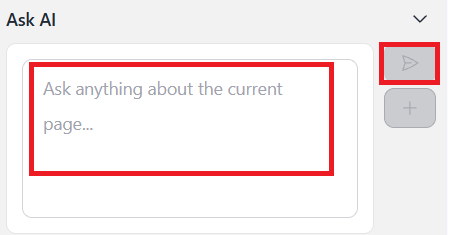
The Ask AI step allows you to formulate questions in natural language that the AI will answer based on the current page content.
How to Add an Ask AI Step
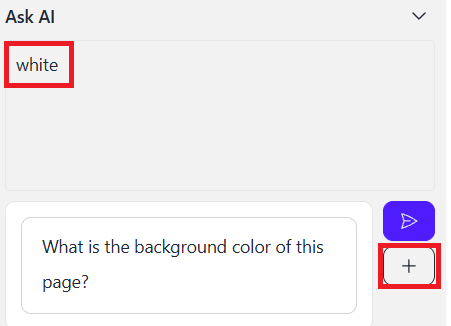
- Write your question in the "Ask AI" text area and click the "Send message" button
- Wait for an answer
- Click the "Add to interactions list" button
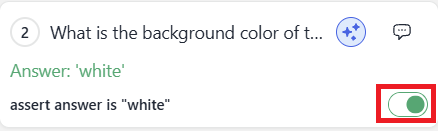
- The "Ask AI" step will be added to the current scenario.
- Enabling the assertion switch will convert this step into an assertion.
Example Questions
Yes/No Questions:
- "Is the user logged in to the website?"
Descriptive Questions:
- "What color is the submit button?"
Counting Questions:
- "How many products are displayed on the page?"
Using AI Responses
The value obtained from Ask AI can be:
- Used as a condition for assertions
- Referenced in subsequent steps
- Stored as a parameter for later use
Custom Node.js Scripts
For advanced use cases, you can execute arbitrary Node.js scripts as part of your scenario.
How to Add a Step with Custom Node.js Script
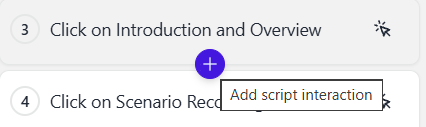
- Click the "plus" icon in the required part of scenario
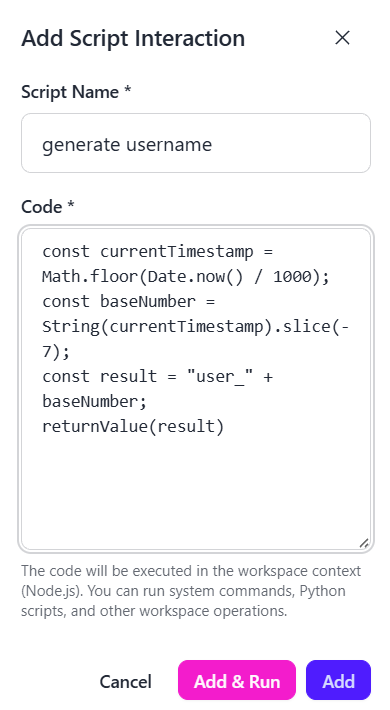
- Fill in a script name, a code, and click the "Add & Run" button
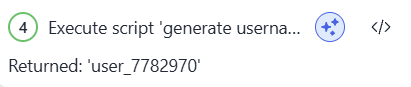
- A script step will be added to the scenario. Result of the script can be used in the next steps of scenario.
What You Can Do
- Perform complex data transformations
- Make external API calls
- Generate dynamic test data
- Implement custom validation logic
- Integrate with external services
Advanced Feature: Custom scripts give you unlimited flexibility to extend Probium's capabilities for your specific testing needs.
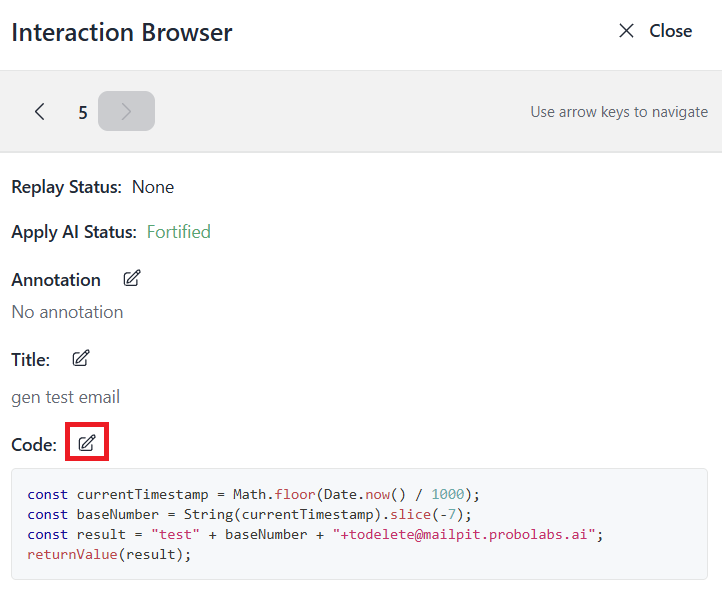
How to Change the Code of the Script
- Within your recorded scenario, find the specific Script step you wish to modify.
- Click on the icon located on that step.

- This will open the Interaction Browser page, where you can see the current code being executed for this step.
- Click on the edit icon (pencil) to edit this code.